Wednesday, June 1, 2011

Wedding Quilt


There's a wedding going on and a quilt I must make! For our nephew and his wonderful new bride. 'Twas a lovely country wedding in colors of Americana. Their wedding invitation was a handkerchief printed with their wedding date, and so as any quilter would do when given fabric, I proceeded to applique it on the back of the quilt for them. Congrats!

:)

Saturday, March 5, 2011

Relay for Life!


It turned out pretty good!
:)

Monday, June 1, 2009

Putting it all together

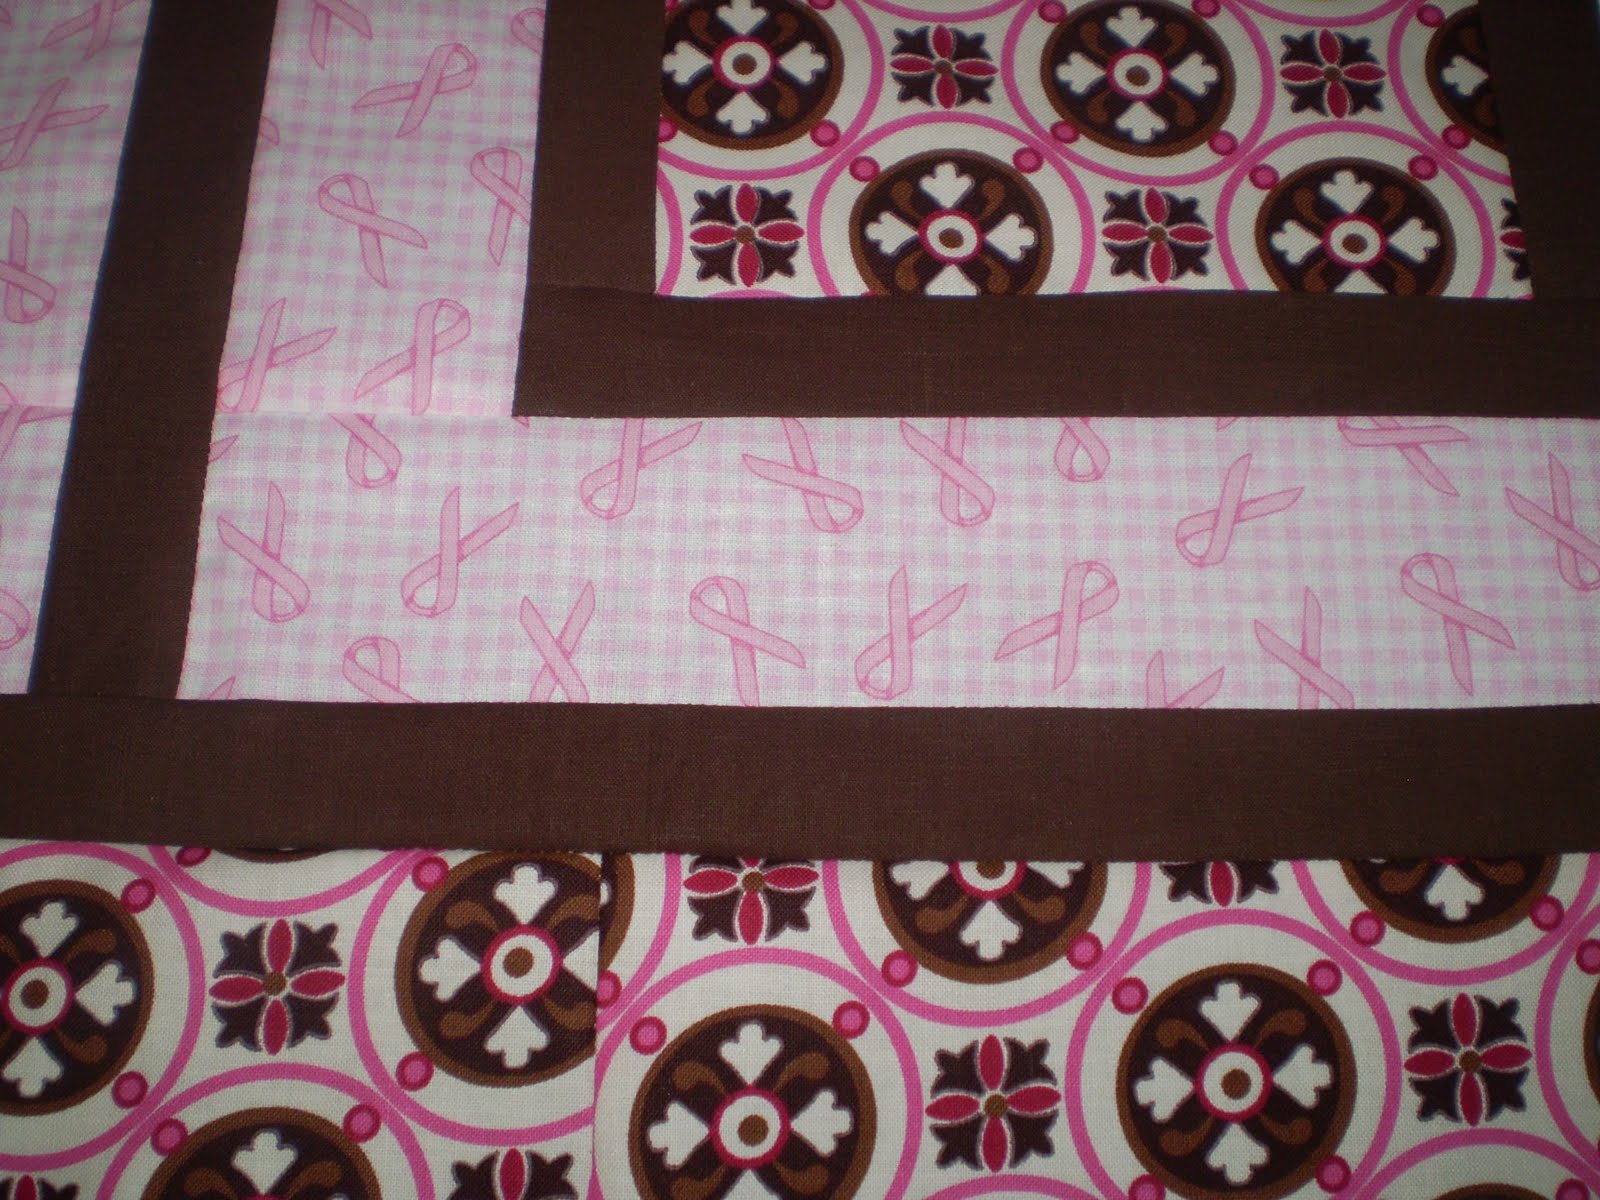
Now that you have all of your blocks made, lets put them together! There are a couple methods you can do for this. I usually like some kind of sashing around all the blocks to separate them. Also, you have to really look at your blocks and how you put your colors together. Try and figure out how they all can be arranged in a manner that makes it flow smoothly. Something that is pleasing to the eyes. If you are a person like me, I love symmetry. Here's how I arranged mine:


Since I had only one really dark block, I used that for the center. I put the blocks with the most show of background fabric opposite of each other. Then I put the heavier colored blocks at each corner.

Hey, call me anal, tell me I have some OCD issues, whatever it is, it works for me. :) And whatever method you figure out will work for you. Like I said before, it is YOUR art.

So I tried finding a color that would go well with everything but wouldn't take away from it all. I put 2 1/2" sashing strips between all the blocks.


And eventually, I got this as a result:


I really am pleased with my result. Now I will put it together with batting and a backing. Bind it up. Quilt as desired. And TA-DA! Quilt!! Something nice to hang in my living room.

I hope you enjoyed this block-of-the-month series. Please feel free to leave any comments. Or ask questions, if you need any further help.

Happy quilting everybody!

:)

Sunday, May 31, 2009

My May result


My block is the Ohio star. Anyone else out there get this one too?

:)

Friday, May 1, 2009

May Block of the Month

This months block will be totally up to you. That's right! A challenge within a challenge. Here's a hint to go on though.....Where are you from?

Ok, so this months block will be a state block. The state where you live. This way, your block-of-the-month quilt will be totally original. Unless, of course, you live in the same state as me or another friend you are doing this with. ;)

There are many websites you can search through. I just typed in "state quilt blocks" in my search bar and found a few to look over. Here's a couple to get you started:

http://www.bellaonline.com/subjects/7939.asp

http://www.freequiltpatterns.info/QuiltCategories/FreeQuiltBlocks.htm

Make sure when you find a block you've settled on, it will measure 12" finished. It would work out much better if they all match in size. ;) Now after searching the web, and you still can't find one that you like, make it personal. But most of all, have fun with it! It's YOUR art!

:)

Thursday, April 30, 2009

Wednesday, April 1, 2009

April Block of the Month


This month's block is called Maple Leaf. It is very easy to construct. Here is how you do it:

1.) Cut 2 background squares and 3 squares from a print fabric 4 1/2" each.

2.) Cut 2 background squares and 2 squares from the print fabric 4 7/8" each.

3.) Cut a strip of your print fabric 1" x 7" for the stem.

4.) Make half-square triangle blocks out of the 2 background and 2 prints measuring 4 7/8", constructing a total of 4 blocks to make the leaf tips.

5.) To make the stem square, cut one of the 4 1/2" background squares in half, diagonally. Then sew the 1" x 7" strip to one of the triangles, on the largest side:


6.) Press open:


7.) Sew the other triangle to the opposite side of the print strip:


8.) Press open and you have your stem square:


9.) Layout your squares and finish your block.


:)